Help · For couples · Getting started
Start your wedding: sign up and set it up
Create your account, then answer six short questions and your wedding is ready to plan.
This guide walks you through your first ten minutes on The Veil: making an account, telling us whether you're the one starting the wedding or joining your partner's, and the six setup steps that build your wedding. Everything you enter here can be changed later, and anything you skip can be filled in whenever you're ready.
Create your account
When you open The Veil for the first time you land on Welcome Back. If you're new, tap Sign up at the bottom.
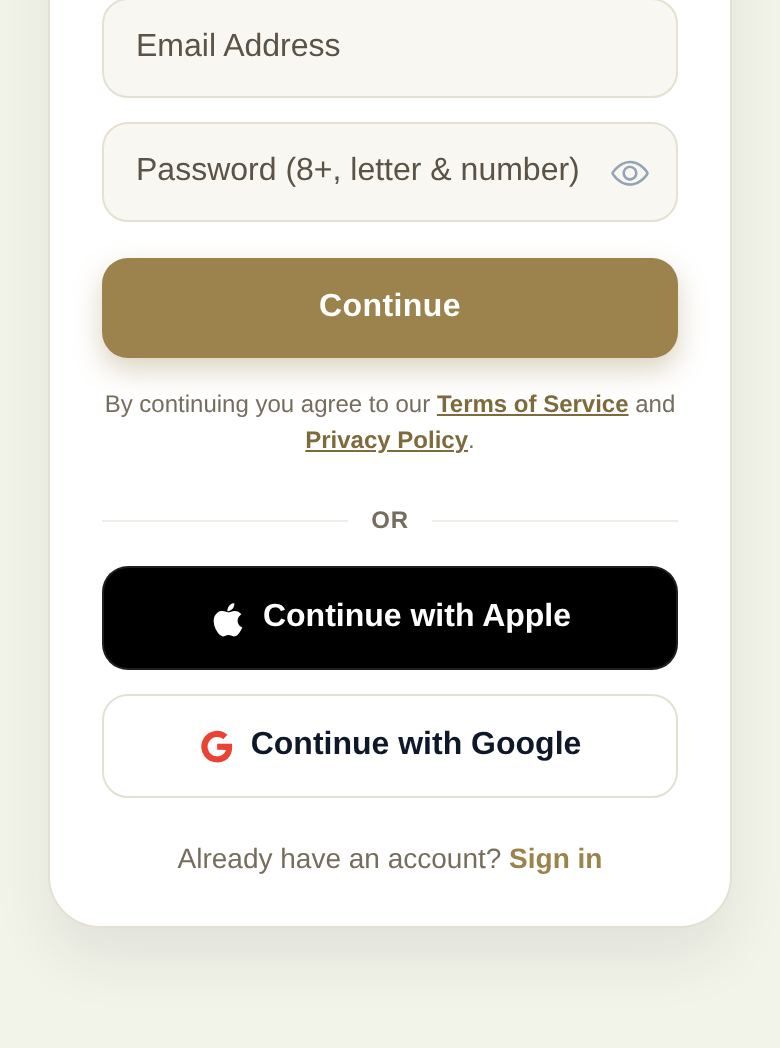
- Enter your Email Address and a password. The password needs at least 8 characters, with at least one letter and one number. Tap the eye icon to check what you typed.
- Tap Continue. On the next screen add your First Name, an optional Last Name and a @username. You can add a photo with Add Photo, or leave it for later.
- Tap Create Account. We send a verification link to your email. Open it, then come back and sign in.
Already have an account? On Welcome Back, enter your email and password and tap Sign In, or use Apple or Google.
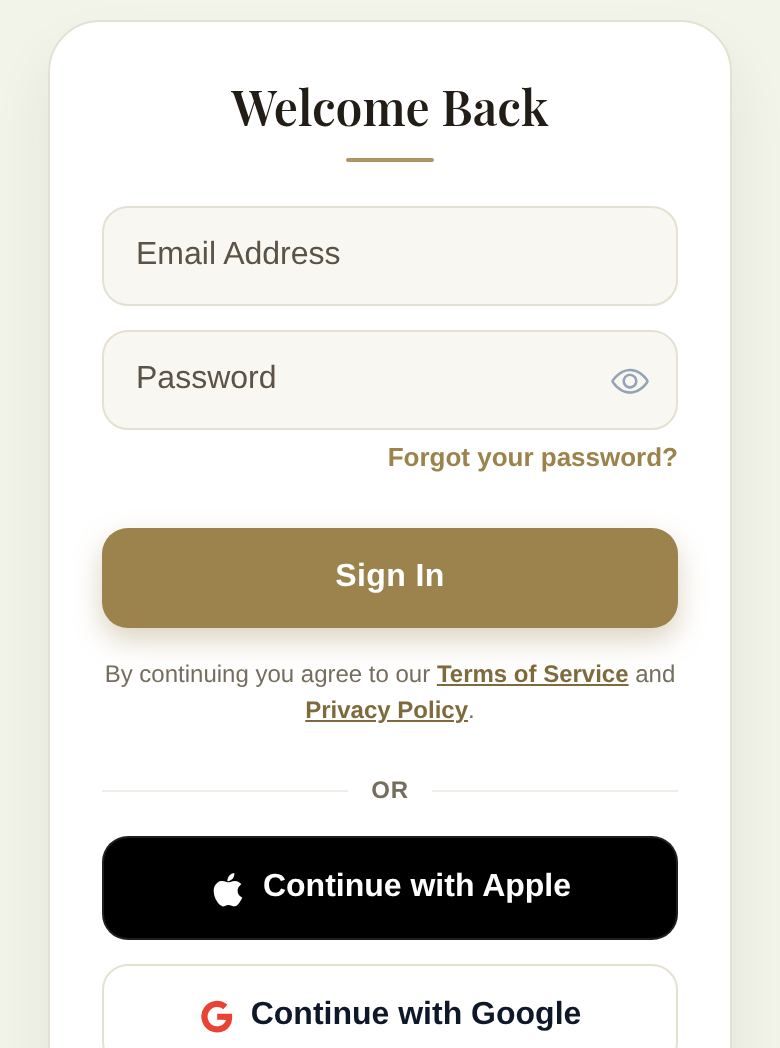
Prefer not to make a new password? Tap Continue with Apple or Continue with Google. You'll still be asked for your name and a username on Set Up Your Profile; tap Finish Setup, or Skip for now and add them later.
Forgot your password later? On the sign-in screen tap Forgot your password?, then Send reset link. The link expires after an hour.
Tell us who you are
Next you'll see Welcome to The Veil and the question Which of these is you?
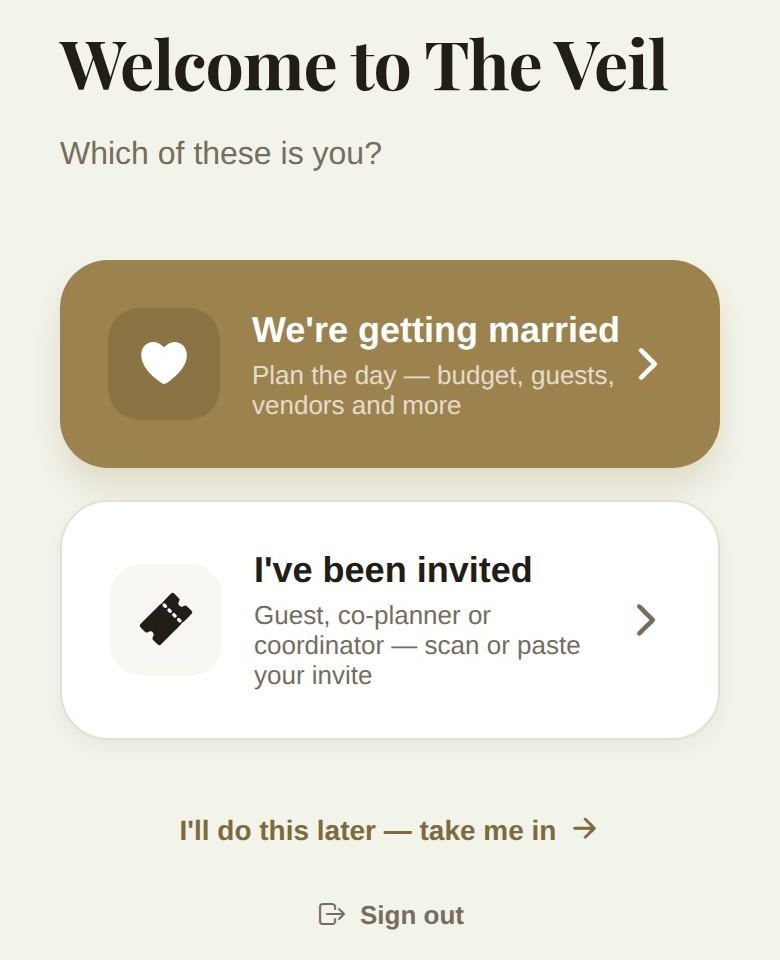
- We're getting married starts your own wedding. Choose this if you're one half of the couple.
- I've been invited is for guests, co-planners and day-of coordinators. You scan or paste the invite the couple sent you, and the invite itself decides what you can see.
- I'll do this later — take me in finishes setup for now and takes you to Home. Useful if you signed up before your invite arrived. You won't be sent back through these screens; start a wedding any time with Create Your Wedding on Home.
- Sign out is there too, in case you signed in with the wrong account.
If you chose We're getting married, you'll be asked Has one of you already started your wedding on The Veil?
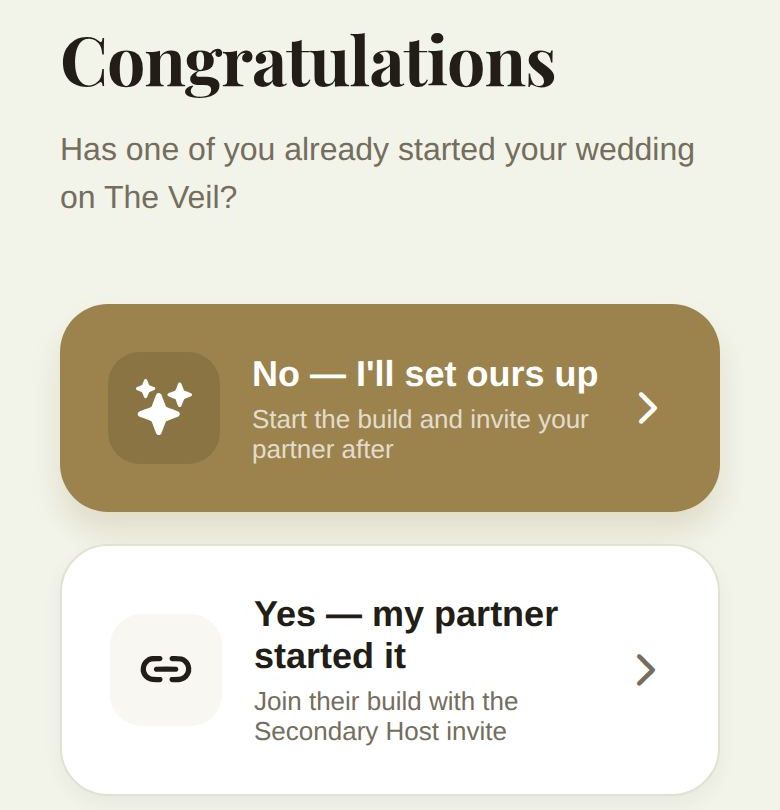
- No — I'll set ours up starts a new wedding. You'll invite your partner once it exists.
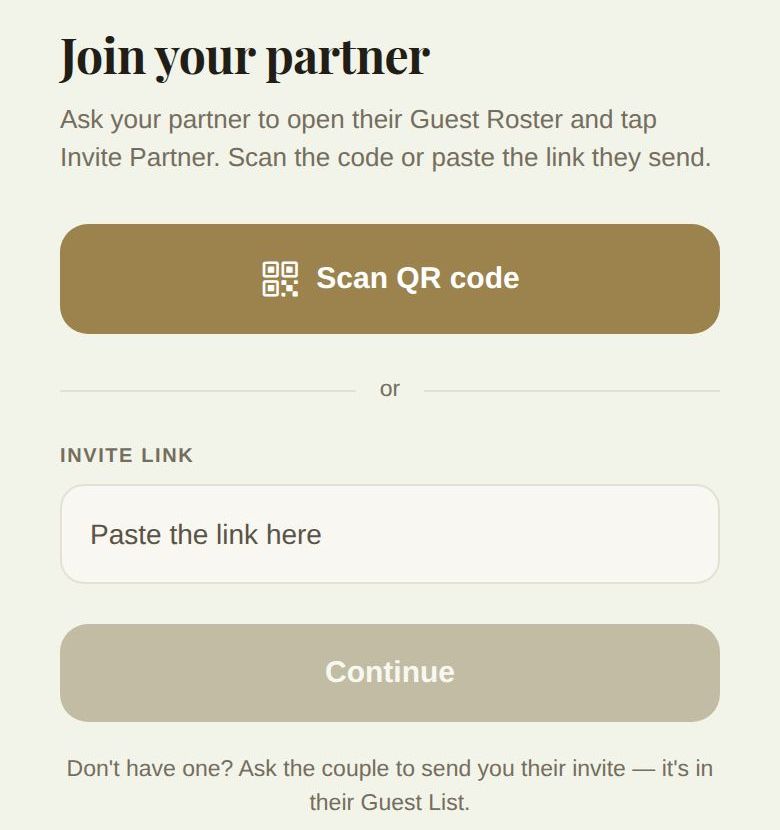
- Yes — my partner started it opens Join your partner. Scan the QR code your partner shows you with Scan QR code, or paste their link into Invite link and tap Continue. If you paste a guest invite by mistake, the app tells you it's a guest invite and asks for the partner one instead. See Invite your partner.
The six setup steps
A bar at the top shows Step 1 of 6 and fills in as you go. Use the back arrow to change an earlier answer.
- Let's get personal. Enter Your Name and Fiancé's Name, then Continue. These become the names on your Home screen and your invitation, like "Maya & Theo". Both are needed to continue.
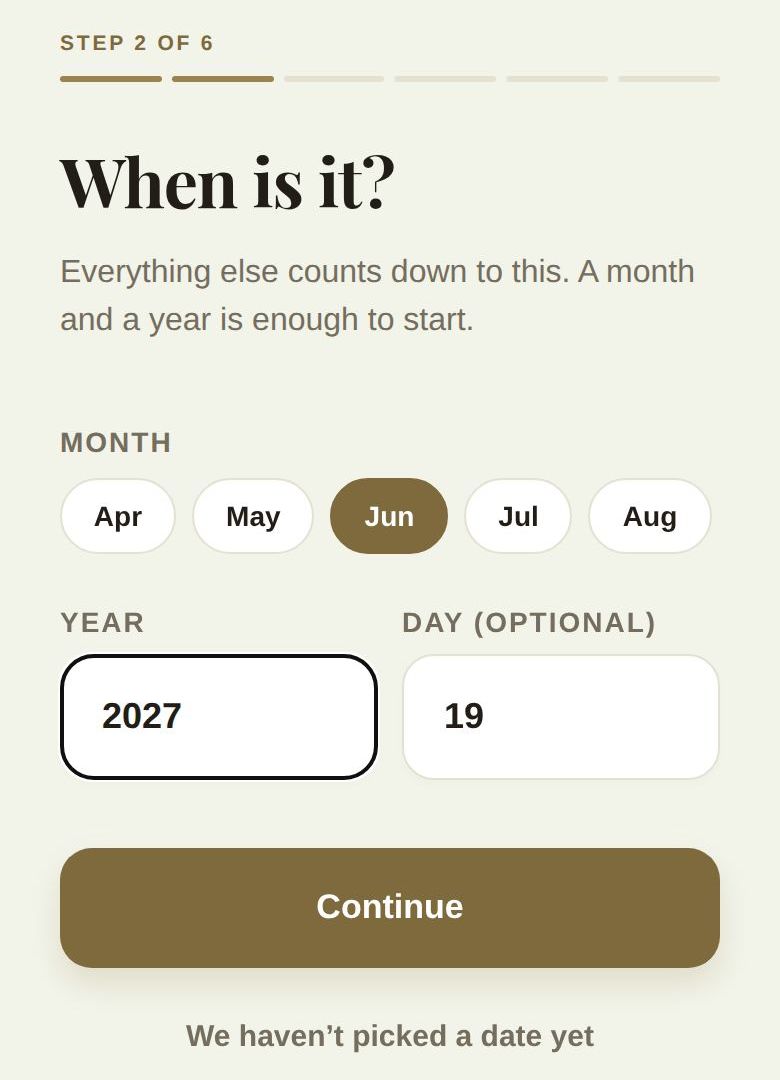
- When is it? Pick a Month, type a Year, and add a Day (optional). A month and year is enough to start. If you don't know yet, tap We haven't picked a date yet.
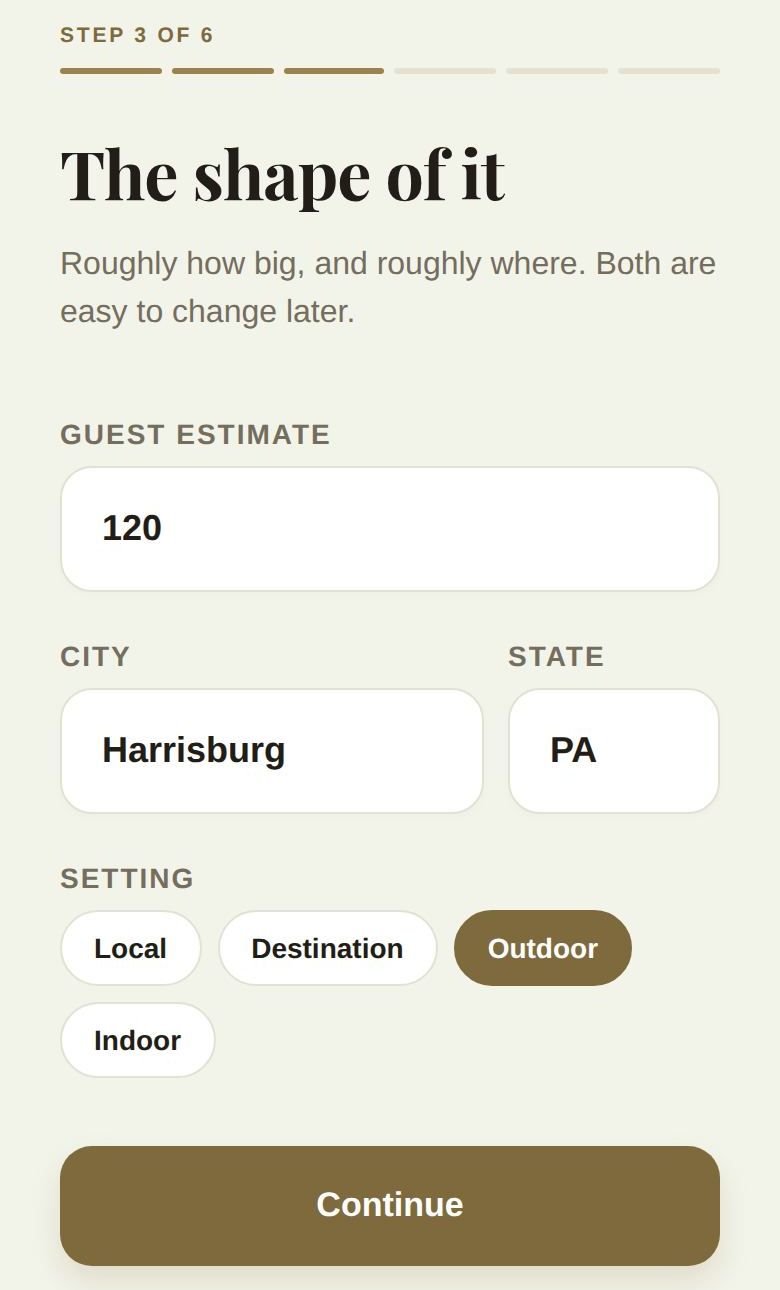
- The shape of it. Your Guest Estimate, the City and State (two letters, like PA), and a Setting: Local, Destination, Outdoor or Indoor.
- Your Vision. An Aesthetic / Style in your own words, such as "Rustic" or "Modern Minimalist". This one is optional; tap Skip for now if you like.
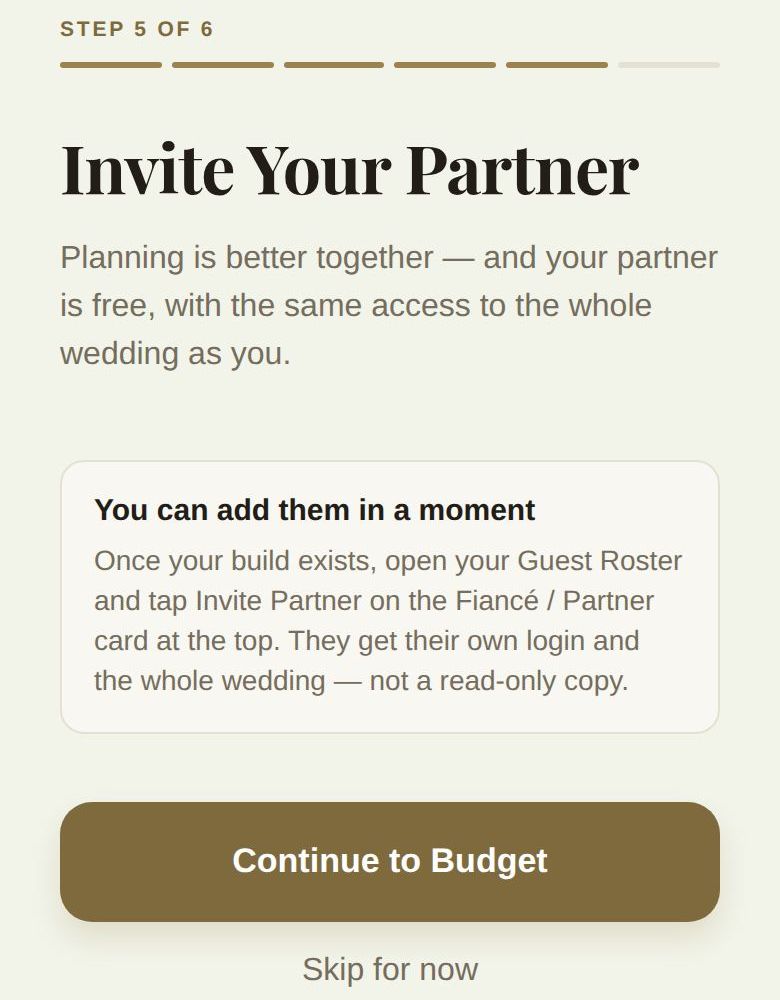
- Invite Your Partner. A reminder that your partner is free and gets the whole wedding. You add them from your guest list once the wedding exists, so tap Continue to Budget or Skip for now.
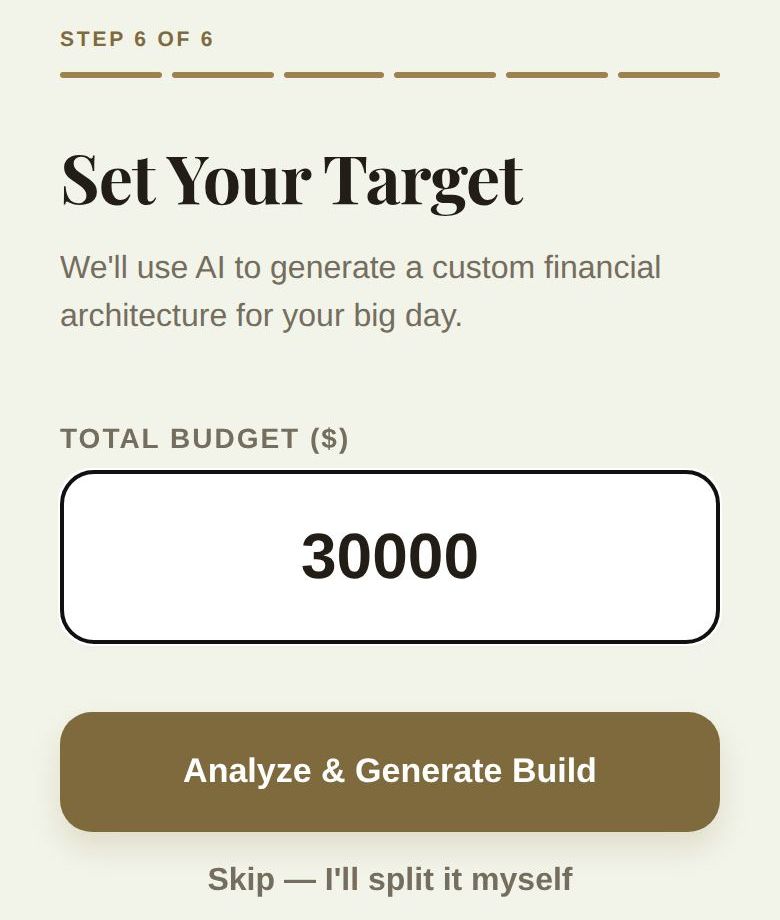
- Set Your Target. Type your Total Budget ($).
Split your budget
On the last step you have two ways to finish:
- Analyze & Generate Build asks our AI to split your total across 15 categories (Venue, Catering, Photography, Attire, Florals, Decor, Entertainment, Stationery, Makeup, Rings, Transport, Cake, Favors, DIY Projects and Buffer), rounded to the nearest $50. You then see the plans page. Pick Continue with Basic to stay on the free plan, or choose a Plus plan. See Plus plans, payment and cancelling.
- Skip — I'll split it myself uses a standard split instead (for example 22% venue, 20% catering, 11% photography) and takes you straight to Home. It's free and nothing is locked.
Either way you can move money between categories later in Budget. See Your budget.
Why the date and place matter
Your wedding date drives the countdown on Home, the due dates on your checklist, the default date for new timeline events, your invitation page and the calendar file guests download. Your city is used when you search for vendors and shows on your invitation. If you only know a season, set a rough date in Wedding Vibe and update it once you know.
Good to know
- Planning a wedding is free. The checklist, budget, timeline, notes, guest list and RSVPs all work on the free plan.
- Your first wedding is always free. A second or third version of the same wedding (an "alternate build") needs Plus. See Plan more than one version of your wedding.
- Next stop: Your Home screen, then add your partner with Invite your partner.
Did this answer it?
Updated September 30, 2026